Table of Contents
- Introduction
- Understanding Dahlia Tubers
- Choosing the Best Location
- Timing Your Planting
- How to Plant Dahlia Tubers
- Essential Support: Staking Your Dahlias
- Pinching for Better Performance
- Watering and Feeding Your Dahlias
- Growing Dahlias in Containers
- Protecting Your Plants from Pests
- Harvesting and Deadheading
- Enjoying the End of the Season
- Conclusion
- FAQ
Introduction
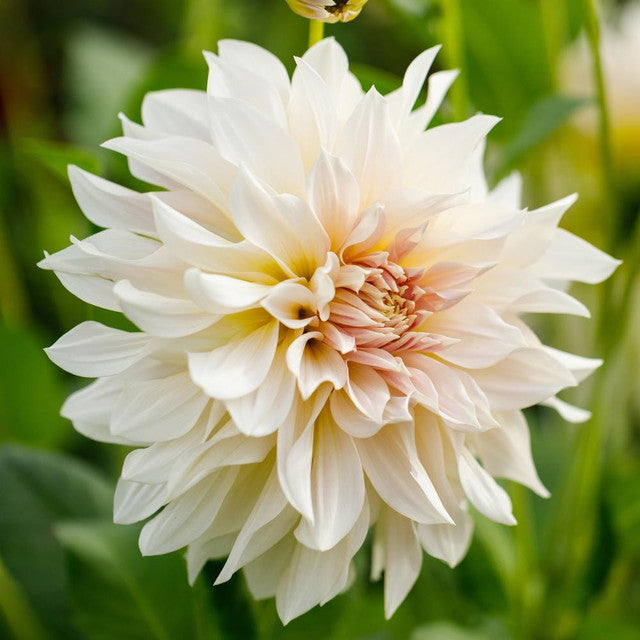
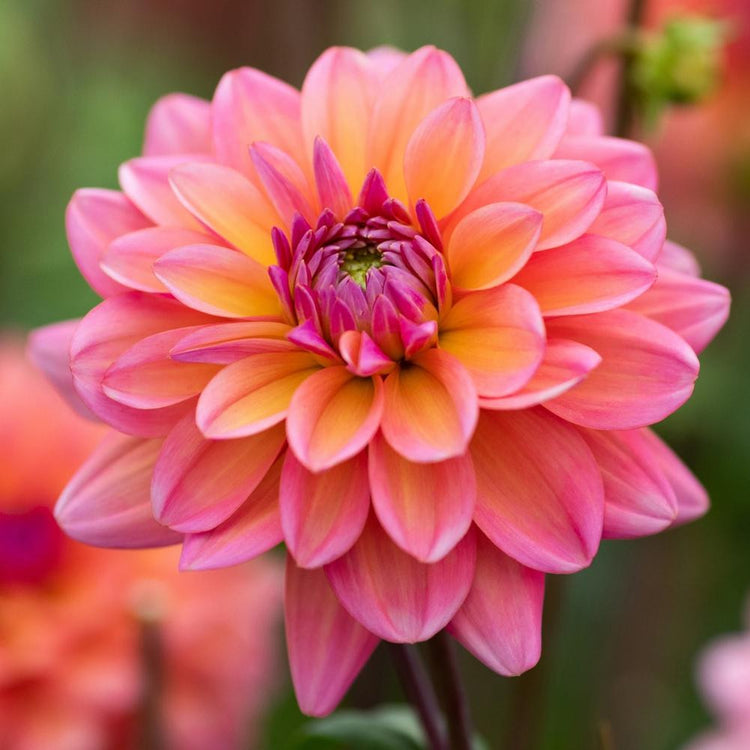
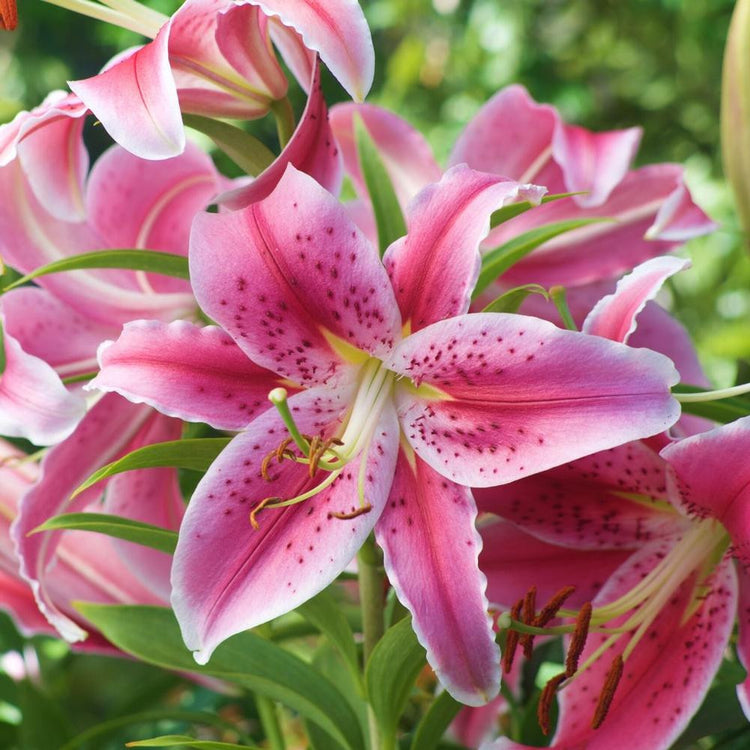
There is a unique kind of magic in watching a dahlia garden come to life. These spectacular plants are the undisputed stars of the late-summer landscape, offering an incredible variety of colors, shapes, and sizes. From the massive, pillowy petals of a dinnerplate dahlia to the intricate, geometric perfection of a pompon dahlia, there is a style to suit every gardener's taste. At Longfield Gardens, we believe that everyone should experience the joy of harvesting a fresh bouquet of these vibrant blooms right from their own backyard.
This guide is designed for home gardeners who want to understand the simple steps of how to grow dahlias successfully. Whether you have a sprawling garden bed or a few sunny pots on a patio, you can enjoy these prolific bloomers from midsummer until the first frost of autumn. We will cover everything from selecting healthy tubers to the "pro tips" like pinching and deadheading that keep the flowers coming all season long.
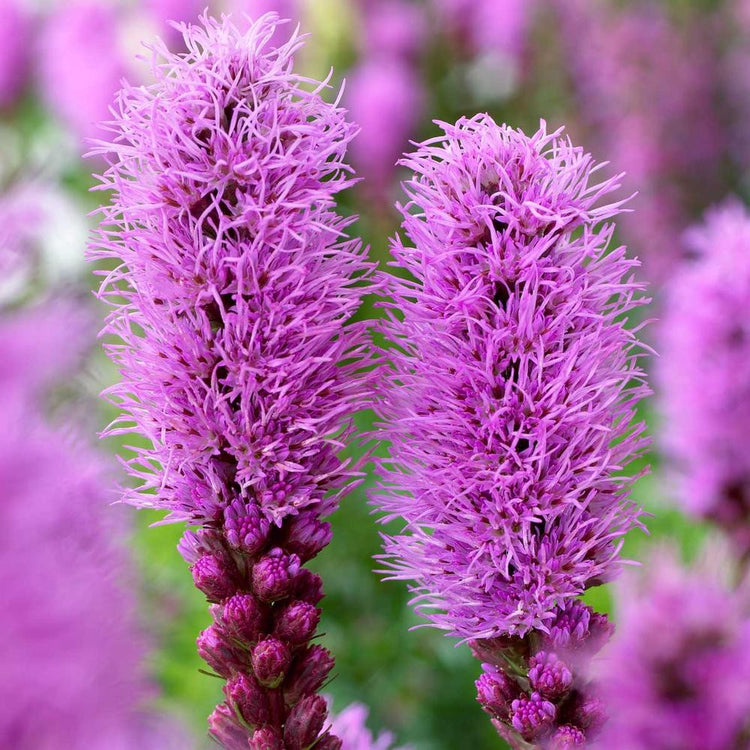
Growing dahlias is a rewarding and accessible hobby that pays off with months of brilliant color. If you love compact blooms, see our PomPon Dahlia collection.
Understanding Dahlia Tubers
Before you dig your first hole, it helps to know what you are planting. Dahlia tubers are thickened, underground storage organs that look a bit like a clump of slender potatoes. These tubers hold all the energy the plant needs to push its first sprouts through the soil.
When you receive dahlia tubers from us, they may arrive as a single tuber or a small clump. Both are equally capable of producing a large, healthy plant. The most important part of the tuber is the "eye." This is the small growth bud located at the crown of the tuber, where it meets the old stem. If you have ever seen a potato starting to sprout in your pantry, you have seen an eye.
A healthy tuber should feel firm, not mushy or shriveled. While some tubers are naturally larger than others, size does not dictate the size of the final flower. A tiny tuber from a miniature variety can be just as vigorous as a large tuber from a dinnerplate variety. If you have trouble spotting the eye, do not worry; once the tuber is in warm soil, the sprout will find its way up.
Key Takeaway: Success starts with a healthy tuber. Look for firm tubers with an intact "neck" and at least one visible or potential "eye" near the stem.
Choosing the Best Location
Matching the plant to the right spot is the first rule of successful gardening. Dahlias are sun-lovers and require a location that provides at least six to eight hours of direct sunlight each day. Morning sun is particularly beneficial, as it helps dry dew off the foliage, which keeps the plants healthy.
In addition to sun, dahlias need "well-draining soil." This simply means the water should move through the soil easily rather than sitting in puddles. If your garden has heavy clay that stays soggy after rain, the tubers may rot before they have a chance to grow. You can improve drainage by adding organic matter like compost or aged manure to the planting area.
If you are gardening in an area with very high summer temperatures, your dahlias might appreciate a little bit of afternoon shade. However, in most parts of the United States, more sun equals more flowers.
- Sun: 6–8 hours of direct light.
- Soil: Rich, loose, and well-draining.
- Wind Protection: Larger dahlias can be top-heavy, so a spot sheltered from strong winds is ideal.
Timing Your Planting
One of the most common mistakes in dahlia gardening is planting too early. Because dahlias are native to the warm climates of Mexico and Central America, they have no tolerance for frost or cold soil.
The best time to plant your dahlia tubers is in late spring, once the danger of frost has completely passed and the soil has warmed up to about 60°F. A good rule of thumb is to plant your dahlias at the same time you would plant tomatoes or peppers. If the ground is still cold and wet, the tubers will simply sit idle and may become susceptible to rot.
For gardeners in northern climates with short growing seasons, you can get a head start by "waking up" your tubers indoors. About four to six weeks before the last frost, plant the tubers in pots with slightly damp potting soil and place them in a warm, sunny window. By the time the outdoor soil is warm enough, you will have established plants ready to go into the ground.
How to Plant Dahlia Tubers
Once the weather is right and your spot is picked, planting is a quick and easy process. Follow these steps to give your tubers the best possible start:
- Prepare the Soil: Loosen the soil to a depth of about 12 inches. This makes it easier for the dahlia's root system to expand. Mix in a handful of compost to provide natural nutrients.
- Dig the Hole: Dig a hole about 4 to 6 inches deep. If you are planting a tall variety, this is the perfect time to sink a sturdy stake into the ground (more on that later).
- Place the Tuber: Lay the tuber horizontally in the hole with the eye (or sprout) facing upward.
- Cover with Soil: Fill the hole back in with soil. You only need about 1 to 2 inches of soil covering the top of the tuber to start. As the stem grows, you can gradually fill in the rest of the hole until it is level with the surrounding ground.
- Space Correctly: Space is important for air circulation. Small "border" dahlias can be planted 12 to 18 inches apart. Large decorative varieties need at least 2 feet of space between plants to reach their full potential.
The "No Water" Rule
This is perhaps the most important tip for new dahlia growers: Do not water your tubers immediately after planting. Unless the soil is bone-dry, there is usually enough moisture in the ground to trigger growth. Watering before the sprout emerges can cause the tuber to rot. Wait until you see the green shoots peeking through the soil before you begin a regular watering schedule.
What to do next:
- Check your local frost dates to find the safest planting window.
- Prepare your garden beds by mixing in compost a week before planting.
- Have your stakes ready so you can install them at the same time as the tubers.
Essential Support: Staking Your Dahlias
Dahlias are prolific growers. A single tuber can transform into a four-foot-tall bush in just a few months. Because the stems are hollow and the flower heads can be very heavy—especially after a rainstorm—most dahlias require some form of staking and support to keep them from flopping over.
The easiest way to support your plants is to install a stake at the time of planting. By doing it early, you avoid accidentally driving a stake through the tuber later in the season. You can use wooden stakes, bamboo poles, or even sturdy metal rebar. As the plant grows, use soft garden twine to loosely tie the main stem to the stake every 12 inches.
If you are growing a large number of dahlias in a row, you might prefer the "corralling" method. Drive heavy stakes into the corners of the bed and wrap twine around the perimeter at different heights to keep the plants upright. For smaller varieties, a standard tomato cage works beautifully and requires very little maintenance.
Pinching for Better Performance
If you want a dahlia plant that is loaded with flowers rather than one single tall stem, you must pinch your plants. Pinching is a simple pruning technique that encourages the plant to branch out, resulting in a sturdier, bushier plant with many more bloom sites.
When your dahlia plant is about 12 to 16 inches tall and has four sets of leaves, snip off the very top of the main center stem. It might feel a bit counterintuitive to cut a healthy plant, but this signals the dahlia to put its energy into the side buds. Within a week, you will see new stems growing from the leaf axils below the cut.
This one simple step can double or even triple the number of flowers you get later in the summer. It also keeps the plant at a more manageable height and makes it less likely to be damaged by wind.
Watering and Feeding Your Dahlias
Once your dahlias have sprouted and are actively growing, they will need consistent moisture. Dahlias are thirsty plants, but they prefer a "deep soak" over frequent, shallow sprinkles.
Depending on your weather, watering deeply two or three times a week is usually sufficient. Try to apply water at the base of the plant rather than over the leaves. Keeping the foliage dry helps prevent common issues like powdery mildew. If you have a large garden, drip irrigation or a soaker hose is an excellent way to get water directly to the roots.
When it comes to feeding, dahlias are "heavy feeders," meaning they use a lot of nutrients to produce those big blooms. However, you must be careful with nitrogen. Too much nitrogen will give you a giant green bush with very few flowers.
Look for a fertilizer with a lower first number and higher middle and last numbers (such as a 5-10-10 or 10-20-20 formula). Start fertilizing once the plants are about a foot tall and continue every three to four weeks until early September. If your soil is already very rich with compost, you may find that your dahlias grow perfectly well with very little extra fertilizer.
Growing Dahlias in Containers
If you do not have a large garden plot, you can still grow beautiful dahlias in containers. This is a great way to brighten up a porch, balcony, or patio. The key to container success is choosing the right size pot and the right variety of dahlia.
For the best results, use a container that holds at least 3 to 5 gallons of soil. Ensure the pot has plenty of drainage holes in the bottom. Use a high-quality potting mix rather than garden soil, as potting mix is designed to stay light and airy in a container environment.
Smaller border dahlias are the most natural choice for pots, as they stay compact (usually under 2 feet tall). However, you can grow tall varieties in large tubs if you provide a sturdy stake or a tomato cage for support. Remember that plants in containers dry out much faster than those in the ground, so check the soil moisture daily during the heat of summer.
Key Takeaway: Container gardening makes dahlias achievable for everyone. Just remember: big pots, good drainage, and regular watering.
Protecting Your Plants from Pests
Dahlias are generally robust, but they do have a few fans in the insect world. The most common visitors are slugs and snails, especially when the plants are young and tender. These pests can devour a new sprout overnight.
You can protect your young plants by using organic slug bait or by simply checking the plants in the early morning and removing any slugs you find. Once the dahlias are a foot tall and the stems become tougher, slugs are usually much less of a problem.
In mid-to-late summer, you might notice Japanese beetles or aphids. For Japanese beetles, the simplest method is to knock them into a bucket of soapy water. For aphids or spider mites, a strong blast of water from the garden hose is often enough to dislodge them. We recommend avoiding harsh chemical pesticides to protect the bees and butterflies that love to visit dahlia blooms.
Harvesting and Deadheading
The more you cut your dahlias, the more they will bloom! This is one of the best parts of growing these flowers. Harvesting fresh blooms for bouquets actually tells the plant to keep producing more buds, and Expert Tips for Cutting and Arranging Dahlias can help you make the most of every stem.
When cutting for a vase, look for flowers that are nearly fully open. Unlike roses or lilies, dahlias will not open much further once they are cut. Use sharp, clean snips and cut the stem just above a set of leaves. This encourages the plant to send out new flowering stems from that point.
If you choose to leave the flowers on the plant to enjoy in the garden, you must "deadhead" them. Deadheading is the process of removing faded flowers before they go to seed. If the plant starts producing seeds, it will stop producing new flowers.
To deadhead correctly, do not just pull off the petals. Cut the entire flower stem back to the next main branch. This keeps the plant looking tidy and focuses all its energy on the next round of spectacular blooms.
Enjoying the End of the Season
Dahlias will continue to bloom enthusiastically until the first hard frost. A light frost might singe the leaves, but a hard freeze will turn the entire plant black. This signals the end of the growing season.
In warm climates (USDA zones 8 and higher), dahlia tubers can often stay in the ground all winter if the soil doesn't freeze. Just cut the stalks down to a few inches and cover the area with a thick layer of mulch. If you're not sure of your growing region, see our Hardiness Zone Map.
In colder climates (zones 7 and lower), the tubers will freeze and die if left in the ground. Many gardeners choose to treat dahlias as "annuals" and simply buy fresh tubers each spring. However, if you have a favorite variety, you can dig up the tubers, store them in a cool, dry place over the winter, and replant them next year. It is a rewarding way to build a collection of your favorite flowers over time.
Conclusion
Learning how to grow dahlias is a journey that brings immense beauty and satisfaction to the garden. By focusing on the basics—waiting for warm soil, providing plenty of sun, and giving the plants a bit of support—you can grow flowers that look like they belong in a professional floral shop. At Longfield Gardens, we are proud to provide high-quality tubers backed by our 100% Quality Guarantee.
Gardening is a practice of patience and observation, and dahlias are wonderful teachers. They respond quickly to care and reward your efforts with a non-stop parade of color from July through October. Whether you are growing a single Thomas Edison dahlia in a pot
or a whole row of Cafe au Lait for cutting, the process is simple and the results are truly breathtaking.
Your Next Step:
- Browse our dahlia collections at Longfield Gardens to find the colors and shapes that inspire you.
- Order your tubers early and review our shipping information so you know when they'll arrive.
- Start a garden journal to track which varieties perform best in your unique microclimate.
Happy gardening!
FAQ
When is the best time to plant dahlia tubers?
The best time to plant is in late spring, once the soil has warmed to at least 60°F and there is no more danger of frost. This usually aligns with the time you would plant other warm-weather crops like tomatoes or zinnias. Planting in cold, wet soil can lead to tuber rot.
Why shouldn't I water my dahlias right after planting?
Dahlia tubers are dormant when first planted and do not have roots yet to drink up water. Excess moisture in the soil before the plant has sprouted can cause the tuber to decay. Once you see green shoots appearing above the soil, you can begin a regular watering schedule.
What is "pinching" and do I really need to do it?
Pinching involves snipping off the top 3–4 inches of the main stem when the plant is about 12–16 inches tall. While not strictly required, it is highly recommended because it forces the plant to branch out. This results in a bushier, stronger plant with many more flowers than a plant that is left un-pinched.
Can I grow large dahlia varieties in pots?
Yes, you can grow almost any dahlia in a pot as long as the container is large enough (at least 3–5 gallons) and has good drainage. Larger varieties will require a sturdy stake or cage to keep them upright, and you will need to water them more frequently than those planted in the ground.