Table of Contents
- Introduction
- Handling New Tubers in the Spring
- Preparing for Winter: When to Dig and Store
- The Art of Digging and Cleaning
- Dividing Your Dahlias
- Choosing the Right Storage Container
- Creating the Ideal Storage Environment
- Winter Maintenance: The Monthly Check-up
- Getting Ready for Planting Day
- Conclusion
- FAQ
Introduction
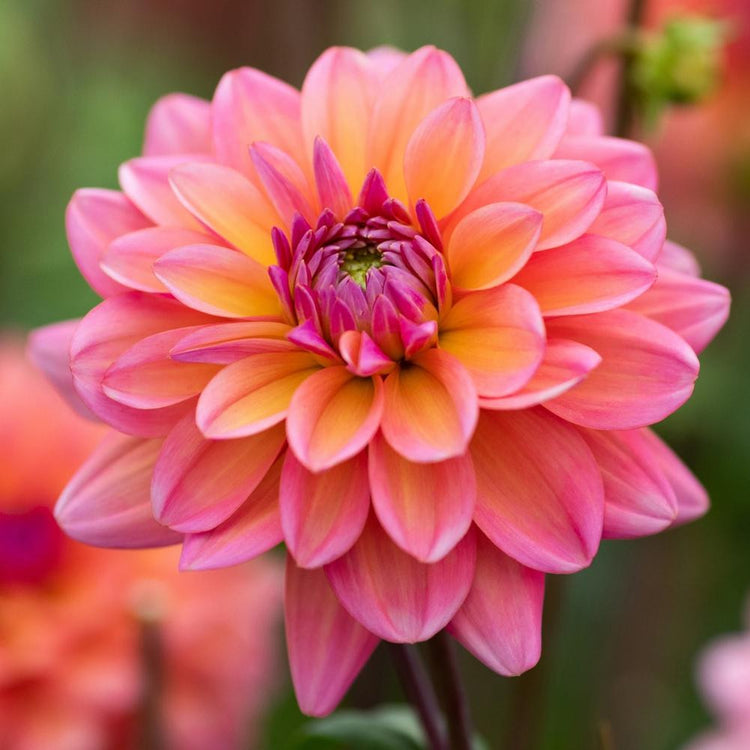
There is nothing quite like the first time a dinnerplate dahlia opens in your garden. Those massive, intricate blooms are the reward for a season of care, and they often become the highlight of the summer landscape for gardeners who love dinnerplate dahlias. At Longfield Gardens, we know that the key to these spectacular displays starts long before the first sprout appears. Keeping your tubers healthy and plump while they wait for the soil to warm is one of the most important steps in the growing process.
Whether you have just received a fresh shipment of spring-planted bulbs or you are looking to save your favorite varieties from last year's garden, proper storage is essential. This guide is for every gardener who wants to ensure their dahlias arrive at planting day ready to thrive. We will cover how to manage new arrivals in the spring and how to successfully overwinter tubers harvested in the fall. By following a few simple steps, you can protect your investment and enjoy years of beautiful, vibrant flowers.
Handling New Tubers in the Spring
If you have recently ordered dahlias, they will likely arrive at your doorstep in the spring, timed perfectly for your growing zone. When that happens, shipping information can help you know what to expect and how to plan ahead.
The most important thing to remember is that dahlia tubers are living things. They are currently in a dormant state, which means they are "sleeping." Your goal is to keep them in this state without letting them dry out completely or get so warm that they start growing prematurely in the box.
Checking Your Shipment
As soon as your package arrives from us, open it immediately. Remove the tubers from the shipping box to let them breathe. We typically ship tubers in plastic bags with a bit of wood shavings or peat moss to maintain the right moisture balance. Peek inside the bags to make sure the tubers look firm.
It is normal for tubers to look a bit shriveled, like a potato that has been in the pantry for a week. They do not need to be rock-hard, but they should not feel mushy or soft like a sponge. If they feel firm and have their labels attached, they are ready for a short stay in storage.
The Best Spot for Temporary Storage
If you aren't ready to plant, find a cool, dark, and dry spot in your home. A basement, a cool closet, or a corner of a frost-free garage works well. The temperature should ideally stay between 45°F and 55°F.
Avoid the refrigerator, as the low humidity and fruit gases can damage the tubers. Also, keep them away from heaters or direct sunlight, which can cause them to wake up too early. Keep the tubers in their original packing material, but leave the tops of the bags open to allow for a little airflow. This prevents moisture from building up and causing rot.
What to do next:
- Open your shipping box immediately upon delivery.
- Confirm the tubers are firm and labeled correctly.
- Place them in a cool, dark area (45–55°F).
- Keep the bags open to ensure good air circulation.
Preparing for Winter: When to Dig and Store
For many gardeners, "storing before planting" refers to the long winter months. If you live in a region where the ground freezes (USDA zones 7 and colder), dahlia tubers cannot stay in the garden over winter. If you need help checking your zone, see our Hardiness Zone Map.
The process of moving dahlias from the garden to storage is called overwintering. It might sound technical, but it is a straightforward process that becomes easier every year you do it. The timing of this process is the most important factor for success.
Watching the Weather
The best signal to start the storage process is the first frost. You will know it has happened when your dahlia plants, which were green and lush the day before, suddenly turn black or dark brown. This might look a bit sad, but it is actually a good sign. It tells the tuber that the growing season is over and it is time to move all its energy down into the roots.
Wait about a week or two after this first frost before you start digging. This short waiting period allows the tubers to "cure" in the ground. During this time, they develop a thicker skin, which helps them stay hydrated throughout the winter. If a hard freeze is predicted (where the ground itself might freeze), do not wait—get them out of the soil as soon as possible.
Cutting Back the Stalks
Before you reach for your shovel, you need to clear away the top of the plant. Use a clean pair of garden shears to cut the stalks down to about 3 to 4 inches above the soil line. These short "handles" of the stalks will help you identify where the center of the tuber clump is located.
It is a great idea to label your dahlias at this stage. Once the flowers are gone and the foliage is black, it is impossible to tell a Café au Lait from a 'Thomas Edison'. Attach a waterproof tag or even a piece of masking tape with the name of the variety to the remaining stem.
The Art of Digging and Cleaning
Dahlia tubers grow in clumps that look a bit like a bunch of sweet potatoes. These clumps are connected by a "neck" to the main stem. This neck is quite fragile, and if it breaks, the tuber may not be able to sprout next year. Digging with care is the best way to ensure a high success rate.
Lifting the Clumps
Start by digging a circle around the plant, about 12 inches away from the center stalk. Use a garden fork or a sturdy shovel. Gently rock the tool back and forth to loosen the soil. By digging a wide circle, you avoid accidentally slicing through the tubers.
Once the soil is loose, gently lift the entire clump from underneath. Do not pull on the stalks, as this can snap the necks of the tubers. Lift the whole mass of soil and roots together and set it on the grass.
To Wash or Not to Wash?
There are two schools of thought on cleaning tubers before storage. Some gardeners prefer to wash all the soil off with a garden hose. This makes it easier to see the "eyes" (the small bumps where next year's growth starts) and helps you spot any damaged areas.
Other gardeners prefer to leave a little soil on the clumps, believing it provides a natural protective layer. Both methods work well. If you choose to wash them, be gentle. Use a soft spray of water and avoid scrubbing. Once they are clean, turn the clumps upside down for a few hours. This allows any water trapped in the hollow stems to drain out, which is a key step in preventing rot.
The Curing Phase
Before you pack your dahlias away, they need to dry slightly. This is called curing. Place your cleaned clumps in a frost-free, shaded area like a garage or shed for 1 to 3 days. You want the skin to feel dry and slightly tough to the touch, but you don't want the tubers to become shriveled or limp.
Key Takeaway: Treating dahlia tubers with care during the digging process is the best way to ensure they have the energy they need to bloom again next summer.
Dividing Your Dahlias
One of the most exciting parts of growing dahlias is that they multiply. One tuber planted in the spring can turn into a clump of five or ten by the fall. You can choose to store the entire clump as one piece, or you can divide them into individual tubers before putting them away for the winter.
Finding the Eye
To successfully divide a dahlia, every piece must have an "eye." The eye is a small, sometimes hard-to-see bump located on the "crown" of the tuber, which is the area where the tuber meets the main stalk. Without an eye, a tuber is just a storage root and will never grow a new plant.
If you are a beginner, it is often easier to wait until the spring to divide your dahlias, especially strong growers like Thomas Edison. By then, the eyes will start to swell and turn pink or green, making them much easier to find. If you decide to divide in the fall, use a sharp, sterilized knife or garden snips. Make clean cuts and ensure each tuber has a piece of the crown attached.
Protecting the Cuts
If you divide your tubers in the fall, you will have "open wounds" where you made the cuts. Let these pieces air-dry for an extra day until the cut surface feels calloused and dry. Some gardeners like to dust the ends with a little sulfur powder or cinnamon to help prevent fungus, though this is not strictly necessary if your storage area has the right conditions.
Choosing the Right Storage Container
The goal of winter storage is to keep the tubers dormant, cool, and just moist enough that they don't turn into "mummies" (dried-out tubers). There are several ways to package them, and the best one often depends on the humidity in your home.
Cardboard Boxes and Plastic Totes
Cardboard boxes are a classic choice because they are breathable. They allow a small amount of air exchange, which helps prevent moisture from getting trapped and causing rot. If your storage area is naturally damp, cardboard is a great option.
Plastic totes or bins are better if your storage area is very dry, such as a heated basement. If you use plastic, do not snap the lid on tight. Leave it cracked open or drill a few small holes in the sides to allow for airflow.
Packing Materials (The "Media")
You shouldn't just throw the tubers into an empty box. They need a "medium" to sit in. This material acts as insulation and helps regulate moisture. Here are the most popular choices:
- Vermiculite: This is a mineral that holds moisture well and is very clean. It is a favorite among professional growers.
- Pine Shavings: Often sold as animal bedding, these are inexpensive and provide great airflow.
- Peat Moss: This is very common but can be a bit dusty. If you use peat moss, make sure it is slightly damp (like a wrung-out sponge), not bone-dry.
- Newspaper: Wrapping individual tubers in several layers of newspaper is a simple, low-cost method that works surprisingly well.
Layer the material in the bottom of your container, place the tubers on top so they aren't touching each other, and then cover them with more material. Repeat this until the box is full.
Creating the Ideal Storage Environment
Success with storing dahlia tubers before planting usually comes down to three factors: temperature, humidity, and airflow.
The Temperature Sweet Spot
The ideal temperature for dahlia storage is between 40°F and 50°F.
- If it gets much colder than 35°F, the tubers may freeze and die.
- If it gets much warmer than 55°F, the tubers may think it is spring and start to grow, or they may rot more quickly.
An unheated basement, a root cellar, or a crawl space are often the best spots. If you use a garage, make sure it is attached to the house or insulated so the temperature doesn't drop below freezing during a winter cold snap.
Managing Humidity
Dahlias like a humidity level of about 50%. This is roughly the same as a typical basement. If the air is too dry, the tubers will lose their water content and shrivel. If the air is too wet, mold and rot can set in.
If you notice your tubers are looking very shriveled during the winter, you can lightly mist the packing material with a spray bottle. You aren't looking to make it wet—just to add a tiny bit of humidity back into the air.
Encouraging Airflow
Stagnant air is a friend to mold. Even in a cool basement, you want a little bit of air movement. Avoid stacking boxes tightly against a wall. Instead, leave a few inches of space around them so air can circulate.
What to do next:
- Choose a container based on your home's humidity (cardboard for damp, plastic for dry).
- Layer tubers in vermiculite, shavings, or peat moss.
- Ensure tubers are not touching one another.
- Place in a location that stays between 40°F and 50°F.
Winter Maintenance: The Monthly Check-up
Storing dahlia tubers is not a "set it and forget it" task. To ensure you have plenty of healthy plants to put in the ground in May, you should check on your boxes about once a month.
Checking for Rot
When you open your boxes, look for any tubers that look dark, feel mushy, or have an unpleasant smell. Rot can spread from one tuber to another, so it is important to remove any "bad apples" immediately. If you find a tuber with just a small spot of rot, you can sometimes save it by cutting the bad part away with a clean knife and letting it dry before putting it back.
Managing Shriveling
On the other end of the spectrum, if your tubers look like raisins or feel very light, they are drying out. This is common in homes with forced-air heating. If this happens, lightly mist the packing material or add a few pieces of damp newspaper to the box. Do not soak the tubers; a small adjustment is usually all they need.
Signs of Early Growth
As spring approaches, you might see small sprouts starting to emerge from the eyes. This is normal! If it is still too cold to plant, try to move the boxes to a slightly cooler spot to slow them down. If the sprouts get very long (more than 2–3 inches), you can gently pinch them off. The tuber will usually produce a new sprout once it is finally planted in warm soil.
Getting Ready for Planting Day
When the days start getting longer and the threat of frost has passed, it is time to wake up your dahlias. For a full walkthrough, see our How to Plant Dahlias. Most gardeners wait until the soil temperature reaches about 60°F before planting. In most parts of the US, this happens in late April or May.
The Pre-Planting Inspection
Take your tubers out of their winter boxes and give them one last look. Healthy tubers will feel firm and may have visible eyes or small sprouts. If a tuber feels completely hollow or is mushy all the way through, it is best to discard it.
Optional: Pre-Starting Indoors
If you live in a region with a short growing season, you can give your dahlias a head start by "waking them up" indoors. About 4 to 6 weeks before the last frost, place your tubers in pots with slightly damp potting soil. Keep them in a warm, bright spot. By the time the weather is warm enough to move them outside, you will have established plants that are ready to bloom much sooner.
Simple Steps for Planting
When you are ready to move your dahlias into the garden, follow these basics for the best results:
- Choose a Sunny Spot: Dahlias need at least 6 to 8 hours of direct sunlight.
- Check the Drainage: Make sure the water leaves the soil quickly. Dahlias do not like "wet feet."
- Plant at the Right Depth: See our how deep to plant a dahlia bulb guide for the details. Dig a hole about 4 to 6 inches deep. Lay the tuber horizontally with the eye or sprout pointing up.
- Wait to Water: Do not water your dahlias until you see the first green sprouts poking through the soil. The tubers have enough stored moisture to get started, and too much water early on can cause them to rot before they take root.
Conclusion
Storing dahlia tubers before planting is a rewarding practice that allows you to keep your favorite flowers year after year. Whether you are managing a new spring delivery or tucking your garden away for the winter, the goal remains the same: keep the tubers cool, dry, and dormant. At Longfield Gardens, we believe that gardening should be a source of joy, and there is a special kind of satisfaction that comes from seeing a tuber you cared for all winter burst into bloom in the summer sun.
- Wait for the first frost to signal the end of the season.
- Dig carefully to protect the fragile necks and eyes.
- Store in a cool, dark place between 40°F and 50°F.
- Check monthly for rot or shriveling.
"A little bit of preparation in the fall and care in the spring ensures your garden will be filled with the breathtaking colors and shapes that only dahlias can provide."
We invite you to explore our Dahlia Collections and start planning your most beautiful garden yet.
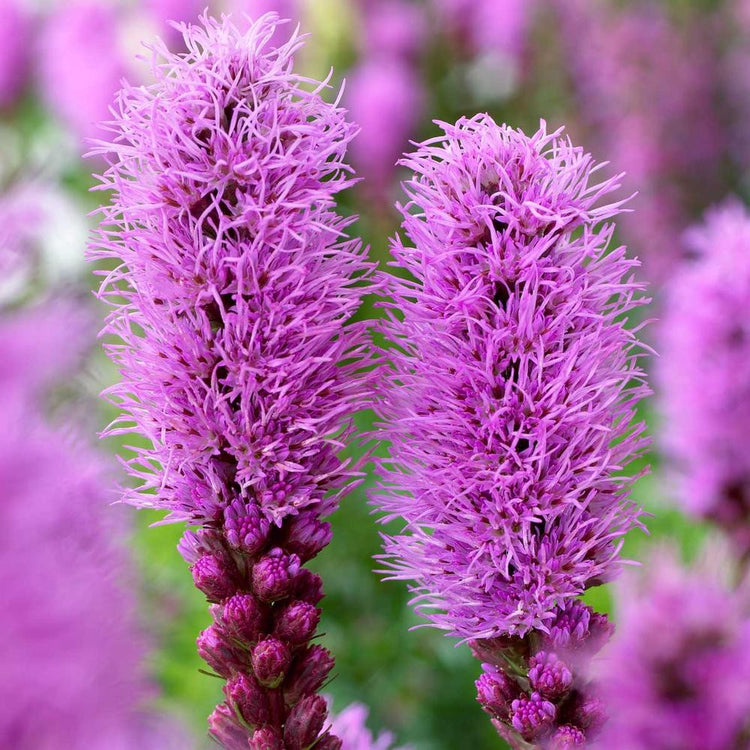
If you love shopping by color, our Pink & Purple Dahlias collection is a great place to browse next.
At Longfield Gardens, we believe that gardening should be a source of joy, and we stand behind every order with our 100% Quality Guarantee.
FAQ
Can I store dahlia tubers in the refrigerator?
We do not recommend storing dahlia tubers in the refrigerator. Most fridges are too cold (usually around 35°F) and the air is very dry, which can cause the tubers to shrivel. Additionally, many fruits and vegetables release ethylene gas, which can damage the dormant eyes of the dahlia.
What should I do if my stored tubers have mold on them?
If you see a light dusting of white mold, it usually means your storage area is a bit too damp or has poor airflow. Simply wipe the mold off with a dry cloth and move the tubers to a drier spot with better ventilation. If the tuber is mushy or smells bad, that is rot, and the tuber should be discarded to protect the others. For more winter storage tips, see our How to Care for Dahlia Bulbs Over Winter guide.
Do I have to wash the dirt off the tubers before storing them?
No, washing is optional. Some gardeners find that leaving a bit of soil on the tubers helps them stay hydrated. However, washing makes it easier to inspect for pests or damage. If you do wash them, ensure they are completely dry before you pack them away for the winter.
How long can dahlia tubers stay in their shipping boxes?
If you receive your tubers in the spring, try to remove them from the shipping box within a few days. While they can stay in the bags for a week or two in a cool, dark place, they need airflow to stay healthy. If you must wait longer than two weeks to plant, it is best to check them weekly for any signs of mold or excessive drying.