Table of Contents
- Introduction
- Understanding the Dahlia Life Cycle
- When to Start the Storage Process
- Step-by-Step: Digging Your Dahlia Tubers
- Cleaning and Preparing for Storage
- The Curing Process
- To Divide or Not to Divide?
- Choosing Your Storage Medium
- The Ideal Storage Environment
- Monitoring Your Tubers During Winter
- Preparing for Spring
- Simple Troubleshooting
- Conclusion
- FAQ
Introduction
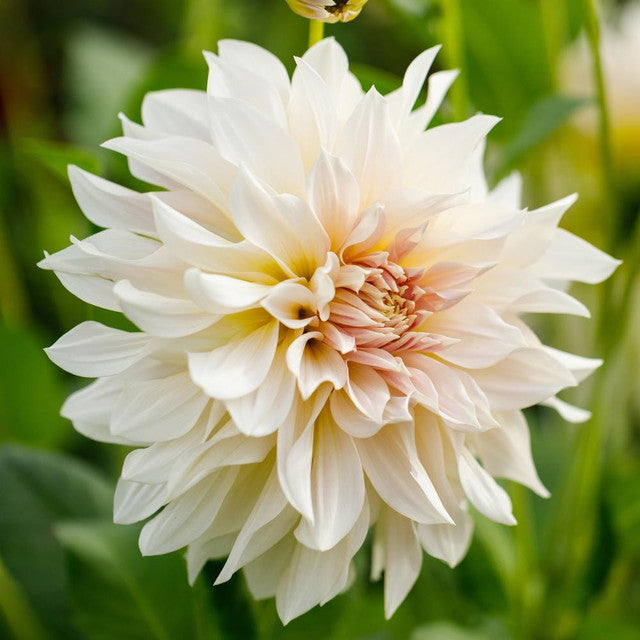
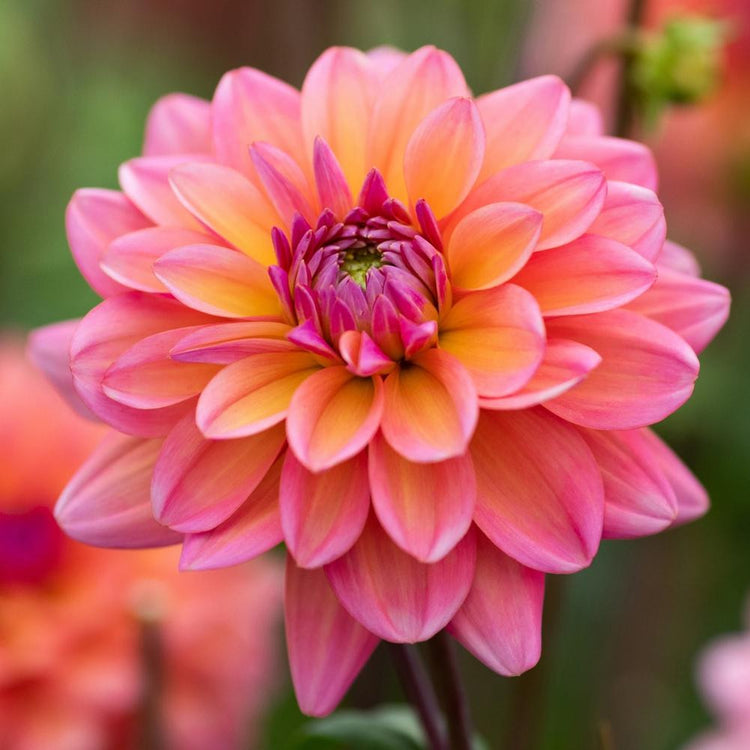
There is nothing quite like the feeling of watching a dinnerplate dahlia unfurl its first massive bloom of the season. These spectacular flowers are the undisputed stars of the late summer garden, offering a variety of colors and shapes that few other plants can match. At Longfield Gardens, we believe every gardener should experience the joy of growing these prolific bloomers. The best part is that once you have a favorite variety, you can keep it for years by simply tucking it away safely for the winter months. (longfield-gardens.com)
Storing dahlias is a rewarding way to build your garden collection without starting from scratch each spring. While these plants are native to the warm climates of Mexico and Central America, they are easy to "overwinter" in cooler regions with just a little bit of preparation. Whether you are a beginner or a seasoned flower enthusiast, the process is straightforward and highly effective. This guide will walk you through exactly how to dig, clean, and store your dahlia tubers so they are ready to burst back into life when the soil warms up again. (longfield-gardens.com)
With the right timing and a cool, dark corner in your home, you can ensure your favorite variety returns to brighten your landscape season after season. (longfield-gardens.com)
Understanding the Dahlia Life Cycle
To store dahlias successfully, it helps to understand how they grow. Unlike many perennials that stay in the ground year-round, dahlias grow from tubers—thick, potato-like roots that store energy. In USDA hardiness zones 8 and warmer, these tubers can often stay in the ground all winter. However, for those of us in zones 7 and colder, the freezing winter temperatures will turn these tender roots into mush. (longfield-gardens.com)
As the days grow shorter in the fall, the dahlia plant begins to move its energy from the leaves and flowers down into the tubers. This process is essential for the plant's survival. The tubers act like a battery, holding all the nutrients and "instructions" needed to grow a new plant next year. When you store them, your goal is to keep that battery from freezing or drying out completely.
When to Start the Storage Process
Timing is the most important factor when learning how to store dahlia bulbs for the winter. You want to give the plant as much time as possible to store energy, but you must get the tubers out of the ground before the soil freezes solid.
The Importance of the First Frost
In most regions, the signal to start digging is the first "blackening" frost. This occurs when temperatures drop low enough to kill the foliage but not low enough to freeze the ground. You will notice your vibrant green dahlia plants suddenly turn dark brown or black almost overnight. This might look a bit sad, but it is actually a vital part of the process.
Once the foliage dies back, the plant enters a period of dormancy. We recommend waiting about 5 to 10 days after this first frost before you begin digging. This brief waiting period allows the tubers to "cure" slightly in the ground and encourages the skin to toughen up, which helps them survive the winter in storage. (longfield-gardens.com)
Watching the Weather
If your area does not get a hard frost until very late in the year, you should still aim to dig your tubers by mid-November. If the soil becomes too cold and wet, the tubers may begin to rot before you even get them out of the ground. It is always better to dig a little early than to wait until the ground is a block of ice.
Key Takeaway: Wait for the first frost to turn the foliage black. This signals the plant to go dormant and move its energy into the tubers for winter storage.
Step-by-Step: Digging Your Dahlia Tubers
Digging dahlias is an active and satisfying garden task. Because dahlia tubers grow in a wide, horizontal clump, you need to be careful not to slice through them while you work. (longfield-gardens.com)
Preparing the Stems
Start by cutting the stalks down to about 4 to 6 inches above the soil line. You can use a pair of sharp garden loppers or a hand saw for thicker stems. These short "handles" of stem will make it easier to see where the center of the plant is while you are digging. Be aware that dahlia stems are hollow and can sometimes hold water, so don't be surprised if a little liquid splashes out when you make the cut.
Lifting the Clump
The best tool for this job is a sturdy garden fork rather than a shovel. A fork allows the soil to fall through the tines and is much less likely to slice a tuber in half.
- Stand about 12 inches away from the main stem.
- Push the fork deep into the soil and gently pry upward.
- Move around the plant in a circle, loosening the soil from all sides.
- Once the soil is loose, reach down and lift the entire clump out by the base of the stems.
Be gentle during this process. The "necks" of the tubers—the narrow part where they connect to the main stem—are quite fragile. If a tuber breaks off at the neck, it usually won't be able to grow next year because the "eyes" (growth points) are located on the central stem (the crown), not on the tuber body itself.
Cleaning and Preparing for Storage
Once the tubers are out of the ground, they need a little bit of grooming. There are two main schools of thought when it comes to cleaning: washing them with a hose or simply brushing off the dry dirt.
The Washing Method
Many gardeners prefer to wash their tubers. This makes it much easier to see the eyes if you plan on dividing the clumps right away. Simply use a garden hose with a gentle spray setting to wash away the soil. Avoid using high pressure, as you don't want to nick the skin of the tubers. (longfield-gardens.com)
If you choose to wash them, it is vital that you let them dry completely before packing them away. Any lingering moisture trapped in the nooks and crannies of the clump can lead to mold or rot during the winter.
The Brushing Method
If your soil is sandy or dry, you might find it easier to let the clumps sit in a garage or shed for a day or two until the dirt dries. You can then use your hands or a soft brush to knock away the excess soil. This method is often preferred if you are worried about moisture levels, as it keeps the tubers drier from the start.
Trimming the Roots
You will likely see many thin, hair-like feeder roots hanging off the thick tubers. These are no longer needed and can be trimmed away with a pair of clean scissors or snips. You should also cut away any tubers that look damaged, mushy, or "squishy," as these are signs of rot that could spread to the healthy parts of the clump.
The Curing Process
Curing is the process of letting the tubers dry out slightly so the outer skin can toughen up. This acts as a protective layer against the dry air of winter.
Place your cleaned tubers in a cool, shaded area with good air circulation. A garage, basement, or covered porch works well. Do not leave them in direct sunlight, as this can cause them to overheat or shrivel too quickly.
Let the tubers cure for 1 to 3 days. When they are ready, the skin will feel a bit firmer, and any remaining soil will be bone-dry. If you wait too long—more than a few days—the tubers may begin to shrivel and lose too much moisture, so keep a close eye on them.
To Divide or Not to Divide?
One of the most common questions we hear is whether you should divide the dahlia clumps in the fall or wait until the spring. The "clump" you dig up will often have 5 to 20 individual tubers attached to it. Each of these can potentially become a brand-new plant. (longfield-gardens.com)
Dividing in the Fall
The benefit of dividing in the fall is that the tubers are softer and easier to cut. It also takes up much less storage space. However, it can be very difficult to see the "eyes" (the small bumps where next year's stems will grow) in the autumn. If you divide in the fall and accidentally cut off the eye, that tuber will never sprout.
Dividing in the Spring
Waiting until spring is often the safer choice for beginners. After a few months of storage, the eyes will begin to swell and turn slightly pink or white, making them very easy to identify. The downside is that the tubers become much tougher and more difficult to cut through after they have cured all winter.
If you have plenty of storage space, we recommend keeping the clumps whole for the winter and dividing them in March or April just before planting.
What to Do Next:
- Label your tubers immediately using a waterproof marker directly on the skin or with a tied tag.
- Trim away the thin "hairy" roots.
- Check for any signs of rot and remove those sections.
- Let the tubers air-dry in a cool spot for 48 hours.
Choosing Your Storage Medium
Dahlia tubers need a goldilocks environment: not too wet and not too dry. If they are too wet, they will rot. If they are too dry, they will shrivel up like a raisin and die. A storage medium helps regulate this moisture.
Peat Moss or Vermiculite
This is the most popular method. Peat moss and vermiculite are excellent at holding just a tiny bit of moisture while still allowing the tubers to breathe.
- Find a sturdy cardboard box or a plastic bin (if using plastic, do not seal the lid completely).
- Place a 2-inch layer of peat moss or vermiculite at the bottom.
- Lay your tubers or clumps in the box so they are not touching each other.
- Cover them with more medium until they are completely buried.
Wood Shavings
Unscented wood shavings (the kind sold for animal bedding) are another great option. They provide excellent airflow and are very affordable. Use them the same way you would use peat moss. Avoid using fine sawdust, as it can pack too tightly and hold too much moisture against the tuber.
The Plastic Wrap Method
Some experienced gardeners swear by wrapping individual, clean tubers tightly in plastic kitchen wrap. This seals the moisture inside the tuber itself. While effective, this method requires the tubers to be perfectly clean and dry before wrapping to prevent mold. It is generally better suited for gardeners who have already divided their clumps into individual tubers.
The Ideal Storage Environment
Once your dahlias are packed, you need to find the right "home" for them for the next few months. The environment is just as important as the packing material.
Temperature
The ideal temperature for storing dahlias is between 40°F and 50°F.
- Too Cold: If the temperature drops below 32°F, the water inside the tubers will freeze, destroying the cell walls and killing the plant.
- Too Warm: If the temperature stays above 55°F, the tubers may think it is springtime and begin to sprout prematurely, or they may simply dry out and shrivel.
An unheated basement, a crawl space, or an insulated garage that stays above freezing are usually the best spots.
Humidity and Airflow
Dahlias prefer a relatively humid environment (around 70-80% humidity). This is why we use storage mediums like peat moss—they help maintain that micro-climate around the root. If you are using plastic bins, leave the lids slightly ajar or drill a few small holes in the sides to allow for air exchange. Stagnant air is a leading cause of mold.
Monitoring Your Tubers During Winter
Storing dahlias is not a "set it and forget it" task. We recommend checking on your tubers once a month throughout the winter. This allows you to catch small issues before they become big problems.
Checking for Rot
If you see a tuber that has turned black, feels mushy, or has fuzzy mold growing on it, remove it immediately. Rot can spread quickly through a box. If only a small part of a large clump is rotting, you can often cut away the bad section with a clean knife and put the rest back in storage.
Checking for Shriveling
If the tubers are starting to look wrinkled or feel lightweight, they are losing too much moisture. You can lightly mist the storage medium (the peat moss or shavings) with a spray bottle of water. Do not soak it; you just want to add a hint of humidity back into the air.
Preparing for Spring
When the weather begins to turn and the danger of frost passes, it is time to wake up your dahlias. In most regions, this happens in late April or May.
About 2 to 4 weeks before your last frost date, you can move your storage boxes into a warmer room (around 60-65°F). This warmth will encourage the eyes to start "waking up." Once you see those small green or pink bumps appearing on the crown, you know your tubers have survived the winter successfully.
If you kept your clumps whole during the winter, this is the perfect time to divide them. Ensure every piece you cut has at least one visible eye, a sturdy neck, and a healthy tuber body. (longfield-gardens.com)
Simple Troubleshooting
If you open your box in the spring and things don't look perfect, don't worry. Most dahlia issues have simple solutions.
- No visible eyes: Some varieties are "slow starters." Give them a little more warmth and time. As long as the tuber is firm, it is likely still viable.
- Minor surface mold: If the tuber is still firm, you can usually wipe away surface mold with a cloth dipped in a very weak bleach solution (one part bleach to ten parts water) and let it dry before planting.
- A few shriveled tubers: If they aren't completely brittle, try soaking them in a bucket of room-temperature water for an hour or two before planting. This can often rehydrate them enough to get them growing.
Conclusion
Successfully learning how to store dahlia bulbs for the winter is one of the most useful skills a gardener can have. It transforms a seasonal purchase into a long-term investment that brings more beauty to your yard every year. By following the simple steps of waiting for the frost, lifting gently, and providing a cool, stable environment, you can protect your favorite varieties from the harshest winter weather.
At Longfield Gardens, we want you to feel confident in your garden with our 100% Quality Guarantee. While every winter is a little different, the resilience of dahlia tubers is truly remarkable. With a bit of care, those brown, potato-like roots will transform into the most breathtaking flowers in your neighborhood come next August. (longfield-gardens.com)
"The secret to winter storage isn't about expensive equipment; it's about paying attention to the simple needs of the plant: coolness, darkness, and a steady balance of moisture."
Ready to plan for next year? Check your storage spot today and make sure it stays within that 40-50°F sweet spot! (longfield-gardens.com)
FAQ
Can I leave my dahlia tubers in the ground if I use a lot of mulch?
In USDA zones 8 and warmer, a thick layer of mulch (about 6 inches) can often protect dahlias through the winter. However, in zones 7 and colder, the ground usually freezes deep enough to reach the tubers regardless of mulch. If you live in a cold or very wet climate, lifting the tubers is the only way to ensure they survive until spring.
What should I do if my tubers look shriveled in mid-winter?
If your tubers feel spongy or look very wrinkled, they are getting too dry. Use a spray bottle to lightly mist the storage medium (like peat moss or wood shavings) with water. This adds just enough humidity to stop the shriveling without making the tubers wet enough to rot. Check them again in two weeks to see if they have stabilized.
Do I need to wash the dahlia tubers before storing them?
Washing is optional. Some gardeners like to wash them to see the "eyes" and check for damage more easily. Others prefer to leave a little bit of soil on them, which can actually help prevent the tubers from drying out too fast. If you do wash them, the most important thing is to make sure they are 100% dry before you pack them away. (longfield-gardens.com)
Why did my dahlia tubers rot in storage last year?
Rot is usually caused by two things: too much moisture or freezing temperatures. If the packing material was damp or if there was no airflow in the container, mold can set in. Alternatively, if the storage area dropped below freezing, the tubers would have died and then turned mushy as they thawed. Ensure your storage spot stays between 40-50°F and that your containers can "breathe."